
The more in-depth information you have available about visitors to your website, the more empowered you’ll be to make informed data-driven changes to your content. Tracking metrics such as scroll depth can be critical in shaping how you develop pages on your site.
In this article, you’ll learn how to enable more granular scroll depth tracking than what’s already enabled by default in Google Analytics 4 (GA4). This will allow you to gain useful insights into what’s grabbing the attention of visitors and see what areas on your pages may potentially need improvement.
What is Scroll Depth Tracking?
Scroll depth tracking is a useful metric that measures approximately how far users scroll down on a webpage. This metric is typically represented in intervals like 10%, 25%, 50%, 75%, and 100%.
If you’re familiar with Google Analytics 4, you’re likely aware that scroll depth tracking is built into the platform by default. However, only scrolls to 90% of pages are reported. This is great if you want to see who’s completed reading a page, but not as useful if you want to understand how well your content is holding the attention of readers.
Why Scroll Depth Tracking is crucial for understanding user engagement
Scroll depth tracking is crucial in understanding user engagement because it reveals how far users are scrolling on your web pages, providing insights into what visitors find most engaging, allowing marketers to see where visitors lose interest and adjust page content as needed. It also provides insights into what types of content your readers find most interesting.
For example, if you see that most users are only scrolling 25% of the way down your page, this could be an indicator that your introduction is not grabbing reader’s attention. Alternatively, if reports show that visitors are scrolling all the way to 90% on a page, it’s safe to say that your content is well written and holds the attention of readers. This is the power of scroll depth tracking.
Why marketers may want more granular data than GA4’s default scroll depth settings of 90%
You may be wondering why Google’s “built-in scroll event” is triggered whenever a visitor has scrolled to approximately 90% of a page 90% rather than 100%. This is to account for the website’s footer. If a user has scrolled though 90% of your page, it’s safe to say that they’ve likely read all of the content on the page.
Setting up more granular tracking, such as at 10%, 25%, 50%, 75%, and 100%, can reveal approximately where users are dropping off, allowing marketers to make informed decisions about content restructuring or enhancement and gain a deeper understanding of audience behavior. Additionally, we recommend setting up 0% as a scroll depth metric. This way, you’ll avoid seeing “(not set)” appear in your analytics reports later.
How to Enable Scroll Depth Tracking in GA4 with Google Tag Manager
The first step you’ll need to take to enable custom scroll depth tracking is to disable the default 90% option from the Enhanced measurement stream in Google Analytics 4. Here’s how:
- Open Google Analytics, ensure you are logged in, and click on the Admin gear icon on the bottom left.

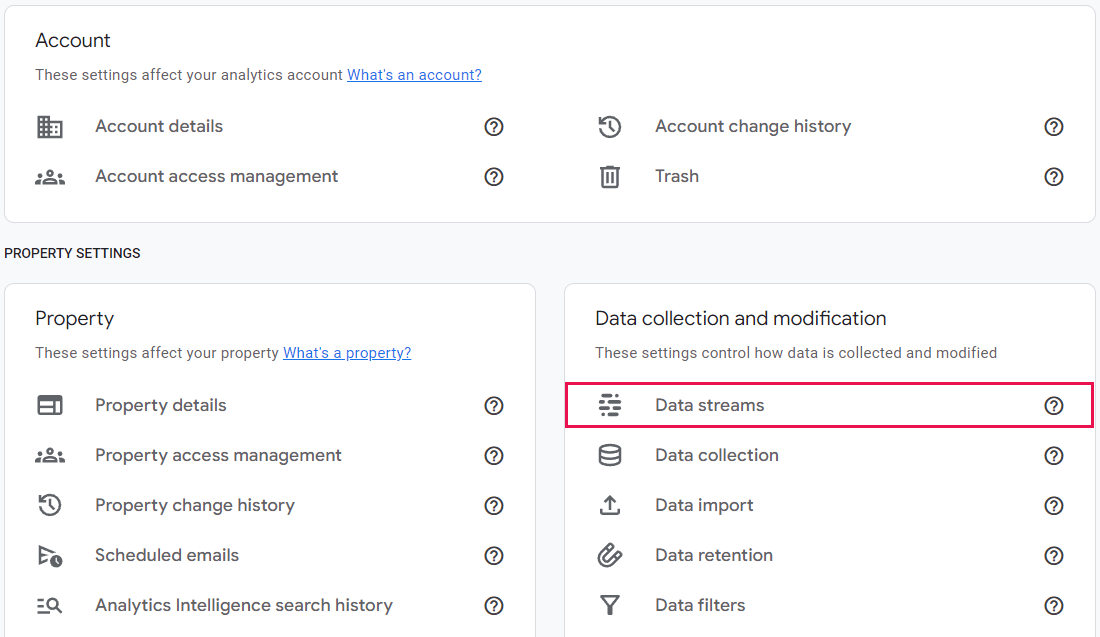
- From there, you’ll click on the Data Streams section found within the Data collection and modification section.
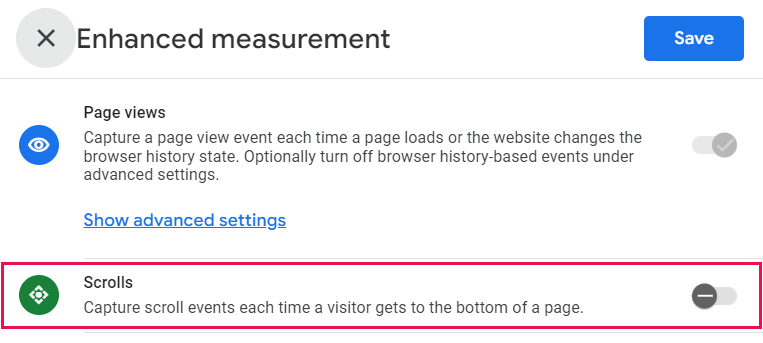
- Then, you’ll need to click into your website’s data stream and go to the Enhanced measurement section. From there, you’ll click on the gear icon on the right.
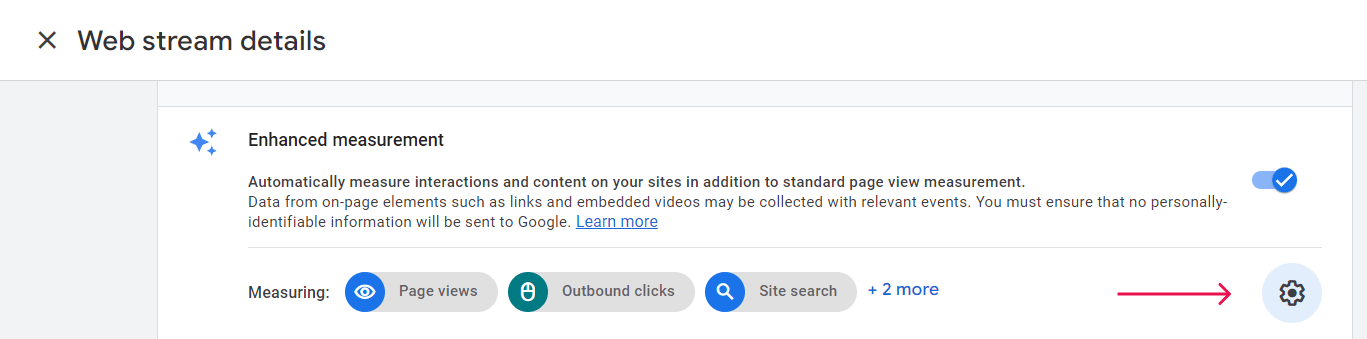

- After clicking the gear icon, you’ll see a list of events you can either enable or disable. Toggle off the Scrolls option to turn off the default tracking option. This is Google Tag Manager’s default scroll depth measurement that reports scrolls past 90%. By turning this off, you’ll ensure that after setting up custom scroll depth tracking you won’t be tracking the same event twice.

Understanding Tags, Triggers, and Variables
Before diving into Google Tag Manager (GTM) and making any changes, it’s important to first understand the relationship between Tags, Triggers, and Variables. Here’s what you need to know:
Tags: A tag is a snippet of code that sends data to Google Analytics on a page or mobile app.
Triggers: A trigger listens for certain events such as clicks, form submissions, or page loads. When an event is detected that matches a defined trigger, any tags that reference the trigger will fire.
Variables: A variable is a placeholder for a value that is populated when code is run on a website or mobile app. In GTM there are two main types of variables, built-in variables, and user-defined variables.
Now that you’ve disabled GA4’s default scroll depth tracking and understand the basics of Tags, Triggers, and Variables, you’re ready to enable custom scroll depth tracking in GA4.
Configuring Scroll Depth Variables in Google Tag Manager
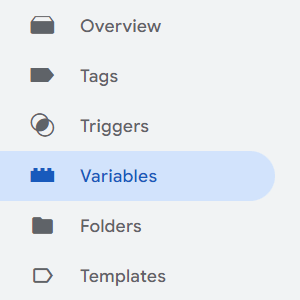
- Navigate to Google Tag Manager and click on the Container name associated with your website. After clicking on your container name, you’ll see the Overview section. Here, you’ll navigate to the Variables section on the left-hand side.

- Click Configure on the right-hand side of the screen and you’ll see Google Tag Manager’s list of Built-In Variables appear.
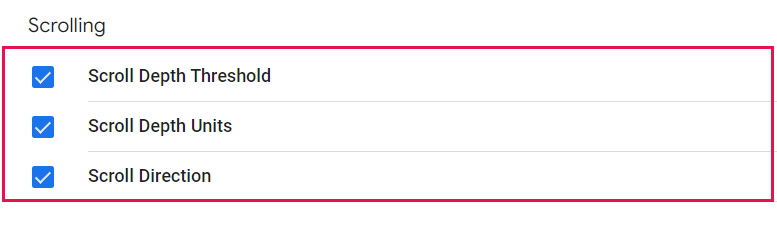
- Navigate to the bottom until you see the Scrolling section. Enable each option using the checkboxes on the left. Now, you’re ready to setup your Triggers.

Create a Scroll Depth Trigger
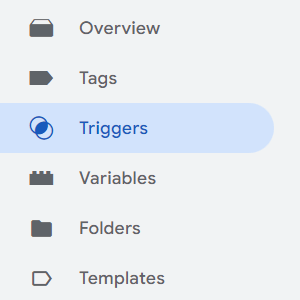
- Click the Triggers section on the left-hand side.
- Click New to create a new Trigger. Try naming it something along the lines of “Scroll Depth Trigger”. Then, click on the Trigger Configuration and select Scroll Depth from the list under User Engagement. From here, you can select whether you’d like to track vertical or horizontal scroll depth and enter in each percentage you’d like to track.

We recommend tracking the following percentages to get the most detailed reporting from GA4 (0, 10, 25, 50, 75, 90).
Now that you’ve created your Variables and setup Triggers, all that’s left is to pair your Trigger with a corresponding Tag, test and publish your changes on Google Tag Manager.
Create a Scroll Depth Tag
- In Google Tag Manager, click Tags on the left-hand navigation and then click New. Give your tag a unique name so you’ll be able to reference it later then click on the Tag Configuration box below.
- Select Google Analytics from the list of tag types and choose “Google Analytics: GA4 Event” from the list.
- You’ll then need to input your Measurement ID. This can be found in the Admin section of Google Analytics in the Data Streams section. After clicking into the property you’d like to track, copy the Measurement ID by clicking the icon on the right-hand side and paste it into Google Tag Manager.


- Then, you’ll need to create the Event Name which is what will be seen in your Google Analytics reports. For this, simply using “scroll” is best. Then, you’ll need to enter in the Event Parameter “percent_scrolled” as well as the Value we setup earlier in the Event Parameters section.
- Click the button on the right-hand side of the Value field and select the Scroll Depth Threshold value. Next, select the trigger we created earlier and click save.

Before publishing your changes to Google Tag Manager, we recommend testing your setup to ensure that everything has been implemented correctly. Here’s how:
- Click Preview on the right-hand side of your GTM workspace and enter your site’s URL into the debugger window and click Connect.
- You’ll notice your site pop up in a new window. To test what we’ve just set up, simply scroll down the page, making sure to navigate all the way to the bottom.
- Switch back to the Debug tab and if all is set up correctly, you’ll see that each Scroll Depth event has been recorded on the left-hand side.
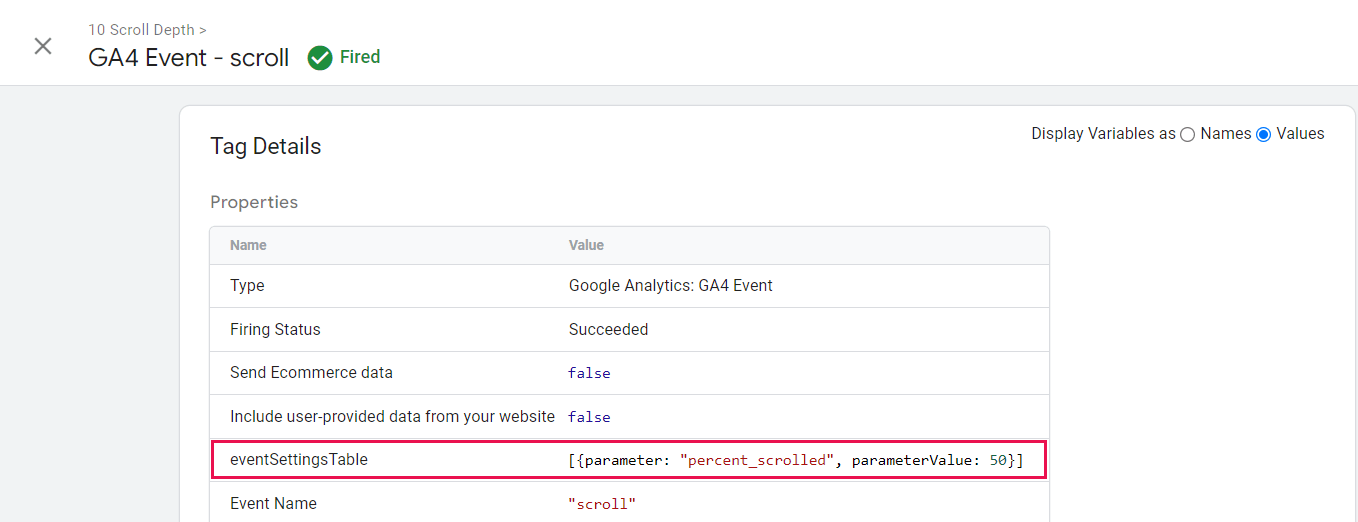
- Now, if you click into a Scroll Depth event, and select Values, you can see the scroll depth percentage that corresponds to the event that’s been triggered. In the example below we can see that the page has been scrolled to 50%.

Now that you’ve verified all is working correctly, the only thing left to do is click Submit to implement your changes in Google Tag Manager. One benefit of setting up Scroll Depth Tracking with GTM is the ability to rollback any changes you’ve made. So, if your implementation isn’t working as expected, you can always rollback any changes you’ve made. Depending on your GA version, the data may take anywhere from 4 hours max with Analytics 360, or between 24 – 48 hours max with the free version.
How to create Scroll-Depth reports in Explorations
Creating a scroll depth report in Google Analytics 4 (GA4) Explorations will give you the ability to analyze performance at the page level. Here’s how:
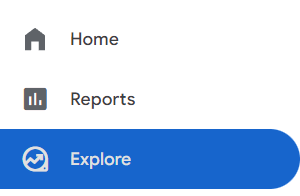
- In Google Analytics, click “Explore” from the left-hand navigation.

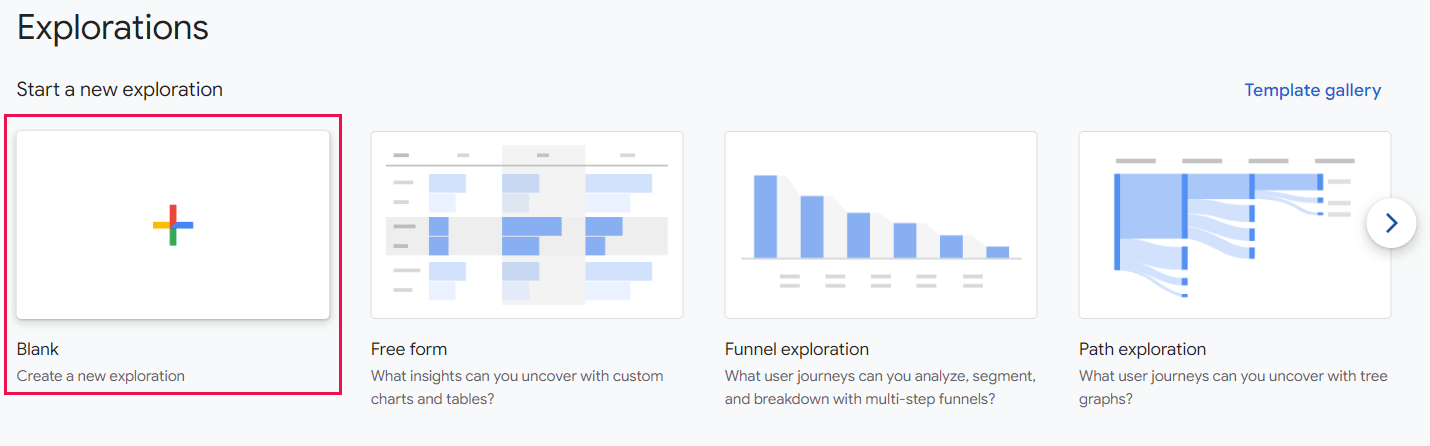
- Click Blank in the report template section to create a custom report.

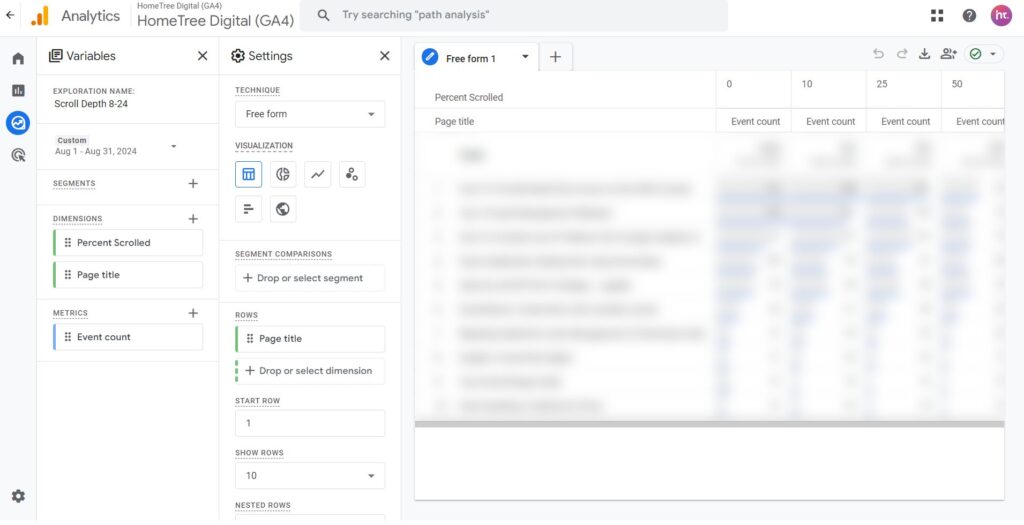
- Click the + sign next to Dimensions and use the checkboxes to add in the dimensions you’d like to include. In this case, you’ll select Percent Scrolled as well as Page Title. Using the search bar up top saves time rather than scrolling through all 300 options.
- Then, you’ll add Event Count to the metrics section the same way we did the above, then click Import.
- Now go to the Settings column and click into Rows and select Page title. Then, scroll down and select Percent scrolled under the Columns section.
- Lastly, select Event count under the Values section.
Now, on the right-hand side, you’ll see a detailed report of each page, complete with detailed scroll information. Below is an example of what your report may look like.
Conclusion
While it’s unfortunate that Google Analytics 4 makes the process of setting up and tracking scroll depth a manual endeavor, it’s an easy process to customize and enable more granular metrics using Google Tag Manager. With custom scroll depth parameters enabled in GTM, you’ll be able to draw informed conclusions about what content is resonating with visitors and make improvements to your content based on data.
Tips you should know
- Too many events firing in a short time (due to a high number of scroll thresholds) can overload your analytics. Stick to key percentages like 0%, 10%, 25%, 50%, 75%, and 90% to capture engagement without overloading your data.
- If you’re running display ads on your site, scroll depth data can help inform Ad placement.
- Custom scroll depth tracking can be enabled horizontally as well as vertically. If your site is set up using a horizontal layout, you can still benefit from detailed scroll depth reporting.
Have questions? Get in touch with an expert today.
About HomeTree Digital
HomeTree Digital is a full-service digital marketing agency for financial services. We incorporate design & creative elements to our work and specialize in email marketing, social media marketing, paid advertising, videography, web development, custom integrations, and automations. As a Salesforce Certified Partner, we can assist with the architecture, administration, or development of your CRM. If you are facing challenges in any of these areas, please reach out to us for assistance. Personalize your subscription to receive regular updates.
HomeTree is defined as a wise resourceful home that provides knowledge, instills inspiration, encourages creativity, and protects. While harmoniously connecting its residents through its branches and roots to the outer world. This accurately describes the approach we take when it comes to our clients. We believe in excellent customer service and prioritizing you. Our mission is to provide you with the know-how to succeed in a rapidly evolving digital world.