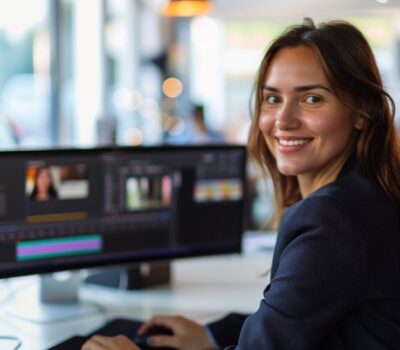

In digital marketing, videos are one of your most powerful tools to grab your audience’s attention, deliver your message, and show the value your business can bring to the table. The common issue with creating them is the cost associated to them. What if we told you that you can do it yourself and standout against your competitors? First things first, we don’t recommend you take this approach for every type of video. For example, a brand or our story video will require a full production team and professional camera to have it stand out. This format can be effective for explainer videos, prospecting videos, quarterly updates, and other regular social media content.
Once you have your raw video ready, a videographer can assist you with post-production editing to make the video more visually polished, add B-roll, animations, graphs, fix the colors, and more. There is only so much editing you can do post-production, which is why you follow best practices when recording yourself. Below we outline key considerations in preparation of recording a video yourself and best practices as you get started.
Please consider us when selecting your video partner. Reference our videography services for more information. This is the first insight in a two-part series.
Read part 2: DIY Videography Blueprint: Equipment (Part 2)
1. Script & Preparation
Even if you know the subject matter, putting together the general structure; whether you choose bullet points or a full script for the video will help you stay on track and communicate your message clearly.
Suggestions to improve your delivery:
- Practice smiling (sounds silly, but helps!) and practicing/memorizing the script in front of a mirror.
- Decide which words you want to emphasize and where you want to have a pause.
- If needed, please rearrange script so it sounds natural with how you speak. Makes a big difference!
- You do not need to repeat the script word for word, as long as the meaning doesn’t change (otherwise will need compliance approval).
- Organize using the rule of threes. It’s human psychology-people remember things in threes! To avoid rambling or information overload keep your points simple and concise.
2. Attire
Looking professional and put together for your video is crucial. Remember, the person speaking in the video is the representative of your company so the way that person presents themselves is a direct representation of your business.
Suggestions on what to wear (or not to) during your recording:
- Wear simple shapes and color clothing, preferably monochrome.
- Try to avoid patterns and many lines on clothing as it can make the quality look worse and pixelated.
- You do want to come across professional but be comfortable. A button up with a blazer or a suit without a tie could be a good balance.
Don’t have the equipment you need for the recording? Skip to our second insight in this two-part series. Read part 2: DIY Videography Blueprint: Equipment (Part 2)
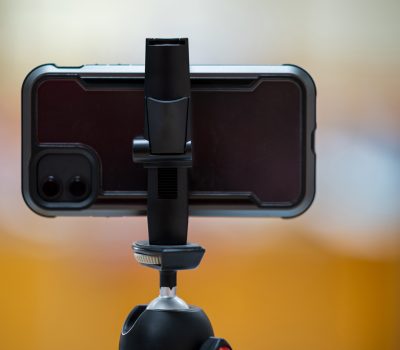
3. Recording
Ready to get started? Make sure you consider the following first:
- Setup your camera in a landscape orientation.
- Make sure you are in a quiet room with no distractions, echoes, or wind. Also, please place your mobile devices on Do Not Disturb mode.
- Point the camera into a corner if possible. Try to have an interesting background – please vet what is in your background e.g., which books are on a bookshelf, etc.
- If you unable to achieve the previous point, leveraging a dark background can help focus the attention on the speaker. To achieve this, we recommend using BRESSER SBP02 Black, vinyl paper (black or grey), or Seamless paper from your local B&H store.
- Contact us for more information and assistance in setting this up.
- Try and keep the background minimal and cleaner if you’re aiming to come across as a more experienced and trustworthy speaker. Examples:


- Lighting
We generally recommend two lights if possible. The stronger light is called the ‘Key’ light, whereas the supporting light is the ‘Rim’ light.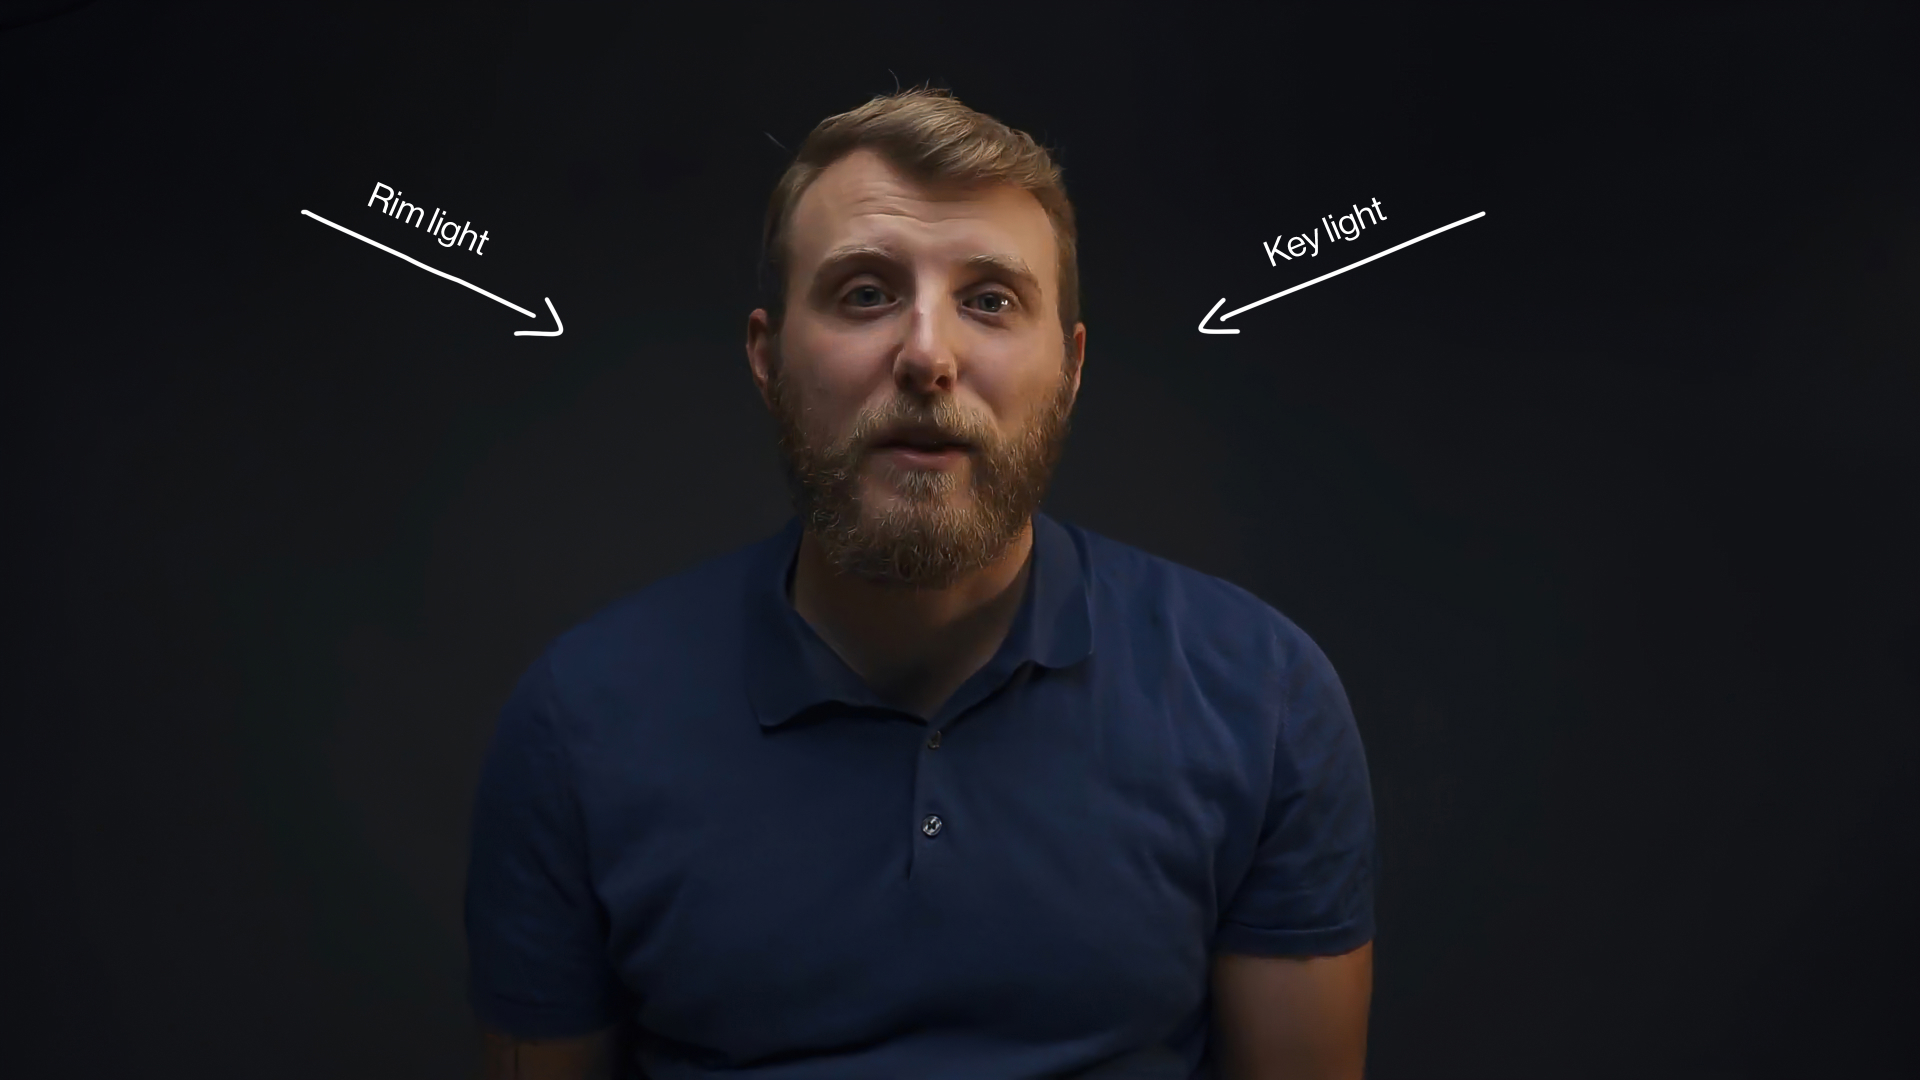

Lighting tends to be a challenge when it comes to DIY. Mobile bundle kits are easier to setup but may only include a single light that isn’t as powerful. Nevertheless, it helps to brighten the speaker’s face. Avoiding strong lighting behind the speaker can be crucial to this.
Position your light at a 45-degree angle to compliment the speaker’s face with shadows. The Key light is directed at the speaker, whereas the Rim light is not pointed directly at the speaker, and instead used to achieve broader portraiture brightness. You may also use lighting lamps you already have at home, although the result may not be as great.
Optional: A small light in the background can create depth. For example, you may add a lit candle or small low light on furniture behind you.
- Positioning
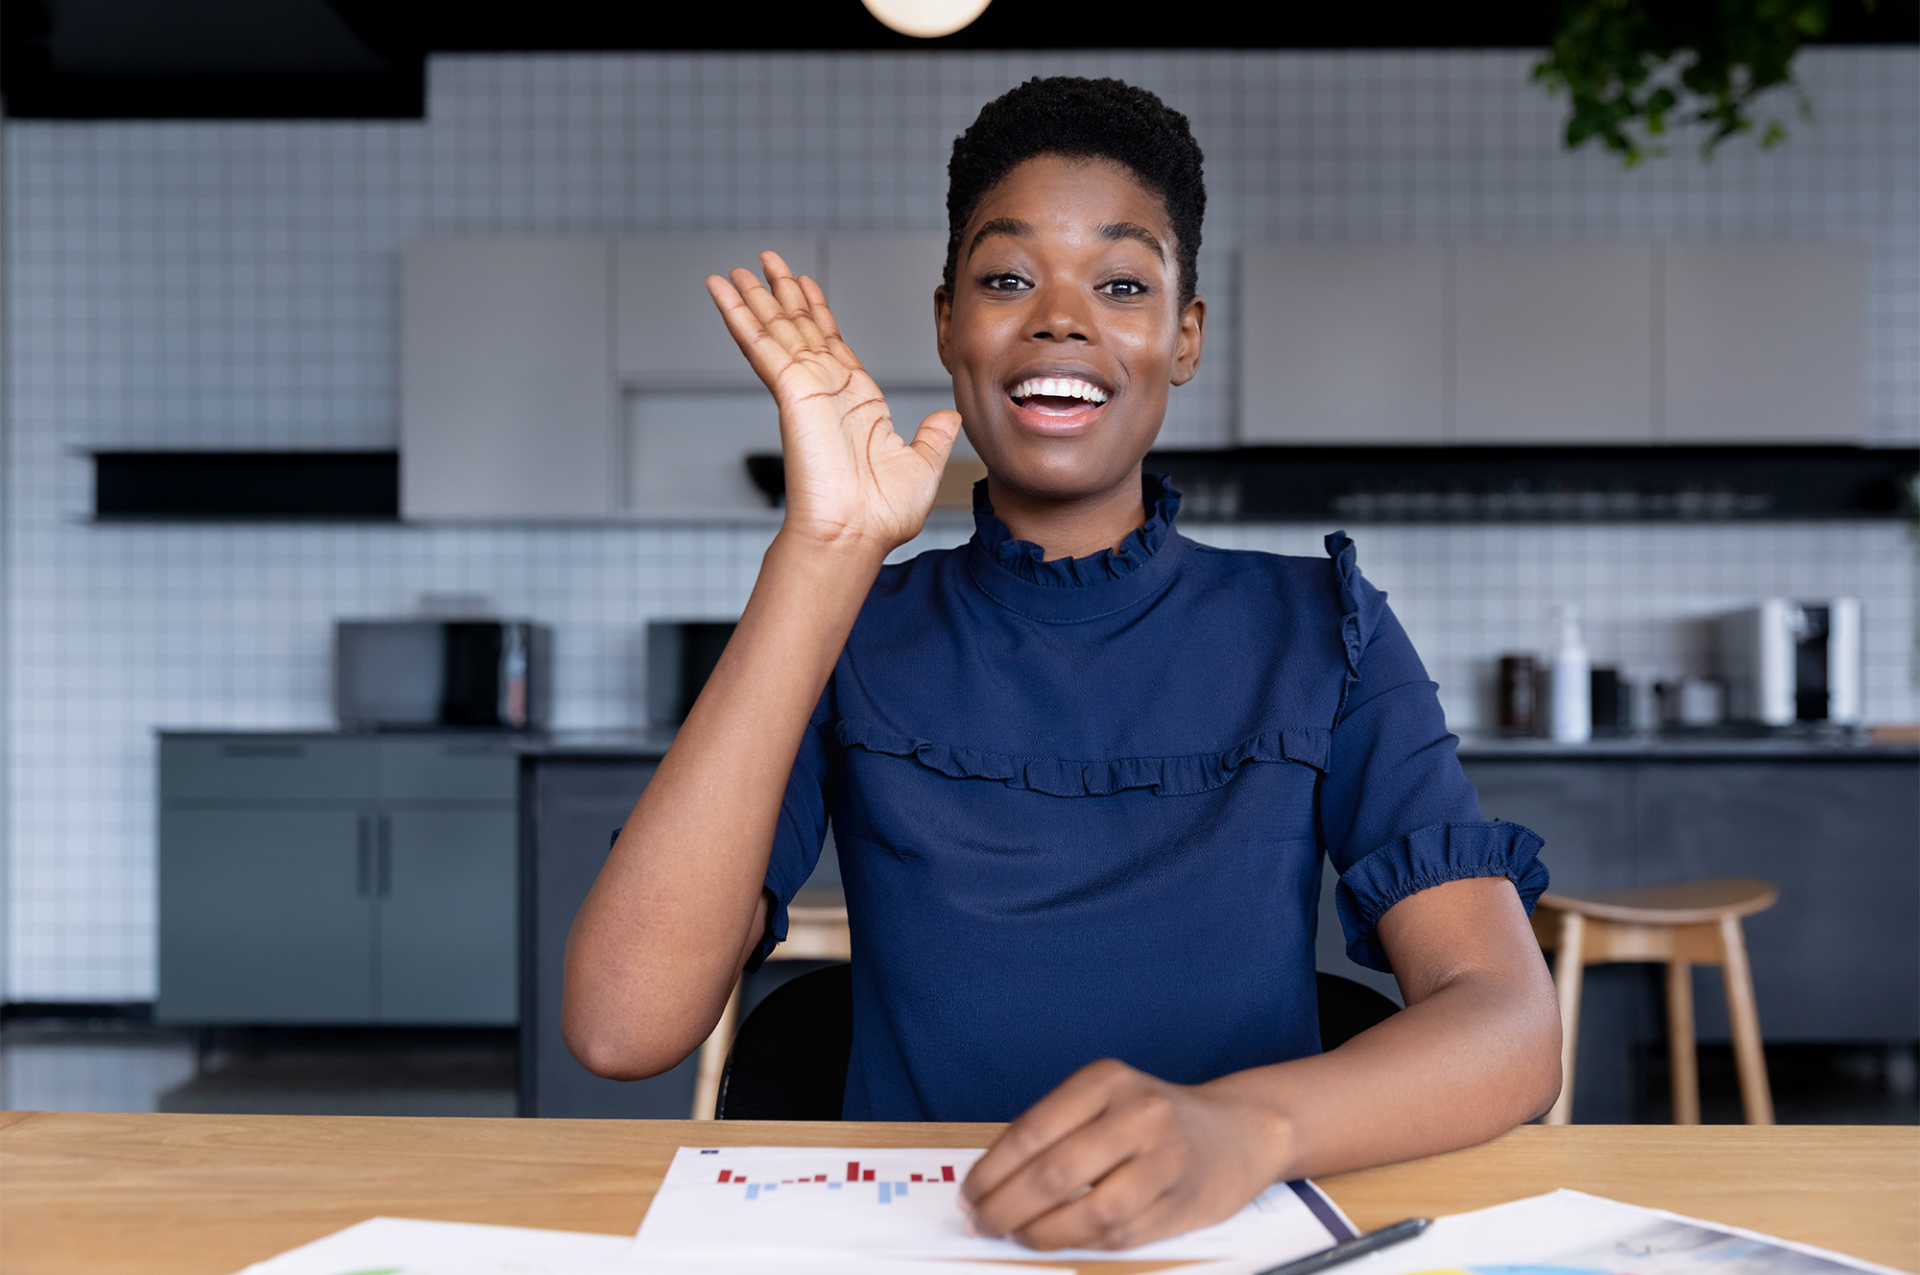
For explainer videos e.g. How-to, a demo, or sales pitch, position yourself in the center of the frame. You should be looking and talking to the camera lens directly. Keep eye contact.
You shouldn’t be looking up or down at the lens. The top of the speaker’s head should be roughly two finger widths (1-2 in/3-5 cm) from the top of the frame.
The speakers positioning between the camera and them can vary, and we recommend recording a cut and seeing how far you need to be to achieve the same distance as the example above. This is usually around two arm’s lengths (to 1.5) away from the camera. The distance in your background is also important (too much or too little). Aim to have 2 open arms lengths roughly behind you. - Project your voice a bit more on-camera, than you would speaking to someone next to you. Posture is important and can help with your delivery – shoulders up, chest out.
- Talk to your audience, not at them.
- Try and limit your movement (especially not swiveling your chair, if seated) to just your hand gestures. Please try and make any hand gestures in slower and firmer/steadier motions.
- Take your time to get into it – you can have a few practice-runs to get warmed-up. Test the audio and positioning on-camera.
- Please allow roughly 5 seconds of a pause at the beginning and end of a recording. If you make a mistake, please do the same – pause for 5 seconds and then restart. This helps with editing the footage during post-production. You can have as many takes as you like. The more raw footage recorded, the more you have to work with.
- Keep your energy up and take a break if you need it. Smile naturally, in a confident trustworthy manner for your audience, and have fun with it!
Videography takes a lot of prep work especially for first time DIY videographers. Following these steps will help make the actual process of filming your video much less stressful.
HomeTree Digital offers videography services from editing, animation, storyboard mock-ups and more! We can even assist in creating animations and personalized content that will help impress your audience in webinars and podcasts.
We would love to work with you and help you grow your business through videography! Please, reach out and let’s make some amazing content together! Get started.
About HomeTree Digital
HomeTree Digital is a full-service digital marketing agency for financial services. We specialize in branding & creative, videography, web & mobile development, integrations, automations, email marketing, social media marketing, paid advertising, SEO, and analytics. If you are facing challenges in any of these areas, please reach out to us for assistance.
HomeTree is defined as a wise resourceful home that provides knowledge, instills inspiration, encourages creativity and protects. While harmoniously connecting its residents through its branches and roots to the outer world. This accurately describes the approach we take when it comes to our clients. We believe in excellent customer service and prioritizing you. Our mission is to provide you with the know-how to succeed in this rapidly evolving digital world.